
Precision 3-Axis Motion Control for Critical Applications
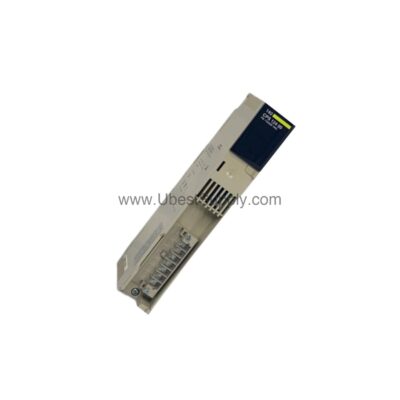
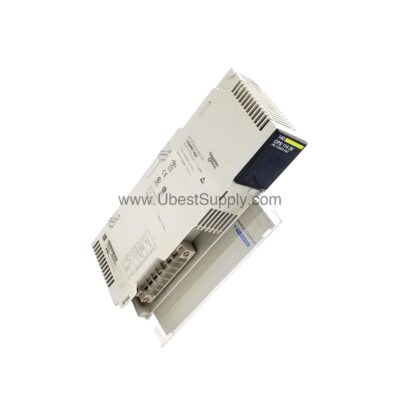
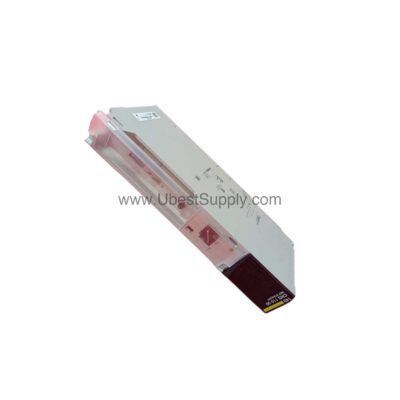
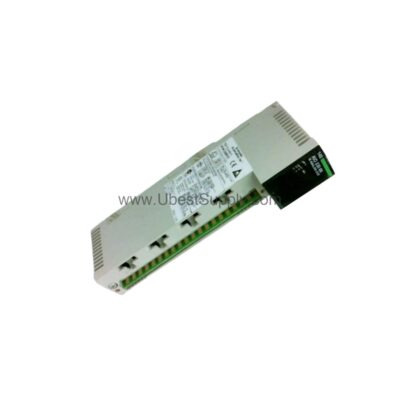
The 1771-HS3A servo controller provides reliable 3-axis control for demanding automation tasks. This module integrates seamlessly into any Allen-Bradley Bulletin 1771 I/O chassis. It manages solenoids, indicators, and AC motor starters with high accuracy. Engineers trust this module for its robust construction and proven industrial performance. Its design prioritizes uptime and operational consistency in harsh factory environments.
Procurement Guide: Key Specifications for Buyers
This buyer guide focuses on the core technical data for the 1771-HS3A. Understanding these specs ensures correct system integration for your project.
1. High-Speed Input for Accurate Feedback
The module accepts a 250 Kilohertz maximum differential input frequency. This high rate captures precise encoder data for fast-moving axes. Such speed supports tight positional tolerances on assembly lines. Engineers can achieve smooth motion profiles with this capability. This input frequency is critical for high-resolution position tracking.
2. Analog Command Output for Smooth Motion

It provides +/- 10 Volt DC analog command outputs. These signals drive servo drives with exceptional linearity and low noise. This voltage range offers full control over motor torque and speed. The output eliminates mechanical jitter in the connected actuator. This ensures gentle acceleration and deceleration cycles.
3. Fast Update Period for Synchronization
The controller features a 2 ms per axis update period. This swift cycle time maintains tight coordination between all three axes. It prevents lag in multi-axis gantries or robotic arms. This speed is vital for high-speed pick-and-place operations. The update rate directly reduces system response time.
Installation Guide: Step-by-Step Deployment
This installation guide provides clear steps for mounting and connecting your new controller.
Step 1: Mechanical Mounting in the Chassis

Insert the module into two adjacent slots in the 1771 I/O chassis. Use the 1771-WA wiring arm for secure electrical connections. Ensure the module fits snugly onto the backplane connector. Its dimensions are 3.5 x 6.5 x 2.0 inches. This standard size fits most existing 1771 rack configurations.
Step 2: Power Supply Connection
Connect the module to a 1771-PS7 power supply unit. This supply provides 120-240V AC at 1A or 2A current. Use the 9-pin 1771-CAS cable for the power connection. This setup ensures stable voltage for the controller’s internal circuits. Check the backplane draw of 1.7 Amperes for total power budgeting.
Step 3: Memory and Program Loading
Install a 1771-HMA 96 KB battery-backed memory cartridge. This cartridge stores AMP parameters and MML download programs. The battery backup retains data during power loss events. This protects your customized motion profiles permanently. Follow the manual for proper cartridge insertion orientation.
Step 4: Wiring and Feedback Setup

Wire the encoder using differential inputs for noise immunity. The module accepts 250 KHz differential and 20 KHz single-ended inputs. Connect the resolver feedback for sine/cosine position signals. This dual feedback system provides absolute and incremental positioning data. Both feedback types enhance overall system reliability.
Step 5: Communication and Operator Interface
Use the RS-232 connector to link to T45 or T50 ODS terminals. An optional Hand-Held pendant allows on-the-fly parameter changes. This interface lets operators modify variables without a PC. The LED indicators show module status clearly. This simplifies initial commissioning and troubleshooting tasks.