
Product Summary
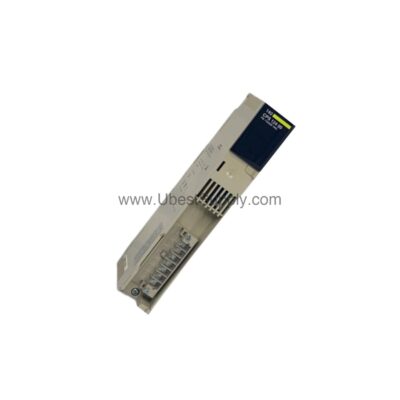
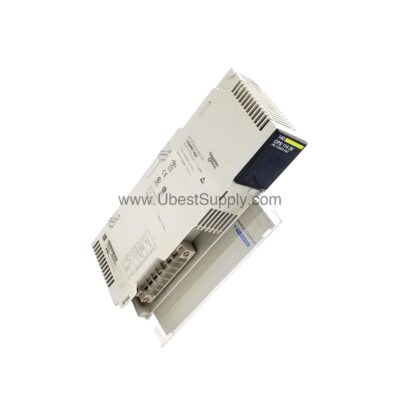
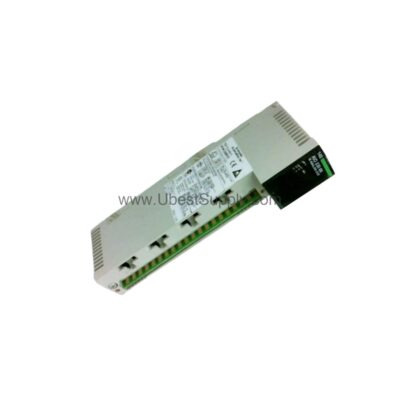
The 1771-HT termination panel provides a critical central wiring hub for your IMC 12X motion control system. This module consolidates connections for feedback devices, drives, and safety circuits. It directly supports up to three servo controllers on a single E-Stop string. This design significantly reduces installation complexity and troubleshooting time.
Theme A: Exact Buyer Guide for the 1771-HT Module
This panel meets the precise needs of any motion control application. It eliminates messy point-to-point wiring for your servo system. The 1771-HT offers a single, organized point for all user connections. Every engineer appreciates the clear labeling on the board itself. This simplicity directly reduces costly wiring errors during commissioning.
Key Benefits for Procurement Managers
You must ensure compatibility with your Allen-Bradley IMC 120 or IMC 123 controller. This module is a direct match for those specific motion controllers. It is not a generic PLC 5 I/O module. Ordering this exact model guarantees proper fit and function. It prevents expensive downtime from mismatched components.

Solving Core System Pain Points
A primary system challenge is managing the E-Stop safety string. This panel includes a socketed onboard relay for that exact purpose. The relay provides contacts to daisy-chain up to three servo controllers. This feature allows for a single, clean emergency stop circuit. It enhances overall machine safety and simplifies compliance.
Technical Specifications at a Glance
The unit comes with four fast inputs and four fast outputs. Each I/O point has a dedicated LED indicator for status. This feature allows for rapid visual troubleshooting of your system. The module uses D-shell connectors for controller cables. It also uses pluggable screw-type connectors for user wiring.
Theme B: Step-by-Step Installation Guide

Follow these steps for a smooth integration of the 1771-HT. First, mount the panel securely inside your control cabinet. Ensure adequate clearance for the wiring connectors. Then, connect the servo controller cable using the D-shell connector. This cable carries control signals and resolver excitation.
Connecting Feedback and Power
You must connect your feedback device to the correct pluggable connector. The panel supports both resolver and encoder systems. Use the separate connectors provided for each type. Route all user-side power through the designated terminals. The RS-232 port is the only connection not routed through this panel.
Wiring the E-Stop and I/O
Connect your E-Stop push button and reset switch to the relay terminals. The relay contacts allow for daisy-chaining multiple controllers. Next, wire your fast inputs and fast outputs to the labeled terminals. Each terminal is clearly marked on the board surface. This design makes wiring verification a straightforward process.

Final System Verification
Power up the system and check the I/O LED indicators on the panel. The LEDs show the status of each fast input and output. This step confirms your wiring is correct before any motion is attempted. Always verify the E-Stop circuit functions exactly as required. This ensures both system safety and operational readiness.
Logistics & Standard Packaging Details
- Allen-Bradley 1771-HT Termination Panel Module
- Socketed Onboard E-Stop Relay
- Pluggable Screw-Type Connectors for I/O and Feedback
- D-shell Connector for Controller Interface
- Express delivery shipping is available via FedEx, UPS, and DHL