
Product Summary
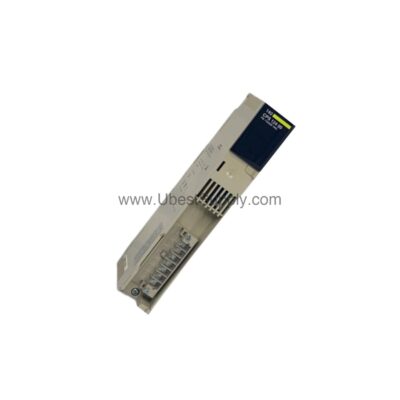
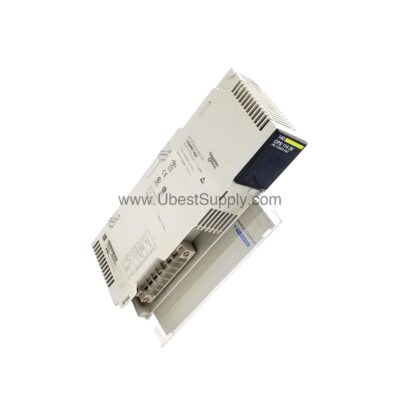
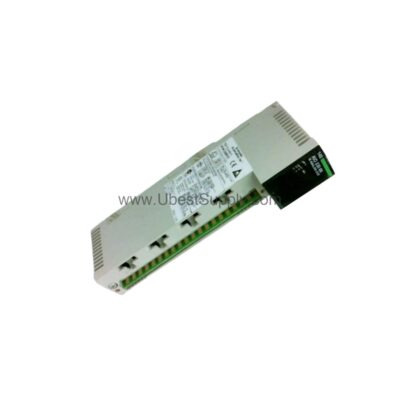
The 1794-TB3 terminal base provides a reliable foundation for your Flex I/O system. It securely mounts modules on DIN rails and terminates field wiring. This base simplifies installation and reduces wiring costs in distributed control architectures.
Product Procurement & Buyer Guide
Understanding Your Core Selection Criteria
Selecting the correct terminal base ensures system reliability. The 1794-TB3 supports a wide range of Flex I/O modules. It works with input modules like the 1794-IB16 and output modules like the 1794-OB16P.
Key Electrical Specifications for Engineers
This base handles a maximum electrical rating of 125V AC/DC. It can carry a continuous current of 10A. Use stranded copper wire sized from 24 to 16 AWG for all terminations.

Solving Common Industrial Pain Points
A proper terminal base reduces installation time and maintenance costs. The 1794-TB3 allows you to place I/O modules near signal sources. This placement significantly cuts down long cable runs and simplifies troubleshooting for your team.
Compatibility Matrix for Procurement Managers
This base works with many terminal base units. Compatible models include 1794-TB3, 1794-TB3K, 1794-TB3S, and 1794-TB3SK. Always verify your module's specific compatibility list before ordering to ensure a perfect fit.
Power and Isolation Specifications
The 1794-TB3 provides a Flexbus rating of 5V DC at 640mA. It supplies up to 2A to the I/O terminals. It offers 125V continuous isolation using basic insulation between field wiring and the Flexbus.

Environmental and Physical Durability
This unit operates in temperatures from -20 to 70 °C. It withstands operational shocks of 30G and vibrations of 5G at 10-500Hz. Its compact dimensions are 94 x 94 x 69 mm.
Step-by-Step Installation Guide
Mechanical Mounting on DIN Rail
First, mount the 1794-TB3 onto a standard DIN rail. Ensure the rail is securely fastened. Snap the base onto the rail until you hear a click. This action locks the unit firmly into place for safe operation.
Proper Wiring and Termination

Use a screwdriver to tighten terminal screws to a torque of 0.56 to 0.79 Nm. Strip the 24-16 AWG wire to the proper length. Insert the wire fully into the terminal clamp. Tighten the screw to secure the connection without damaging the wire.
Installing the I/O Module
Align the Flex I/O module's backplane connector with the 1794-TB3 base. Gently push the module onto the base. Ensure the locking mechanism engages securely. This connection provides both mechanical support and electrical communication via the Flexbus.
Final Electrical Check
Verify all field wiring connections are tight. Check the module's status LEDs after powering the system. The yellow indicators confirm proper channel operation. Refer to the controller's configuration software to confirm the module is online and communicating.