
Product Summary
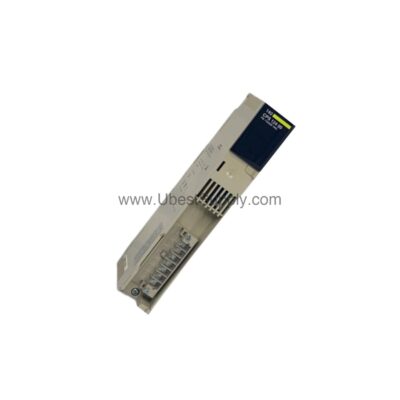
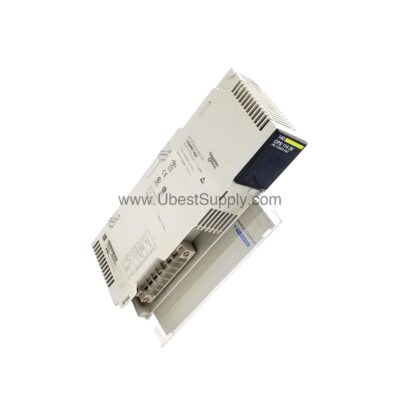
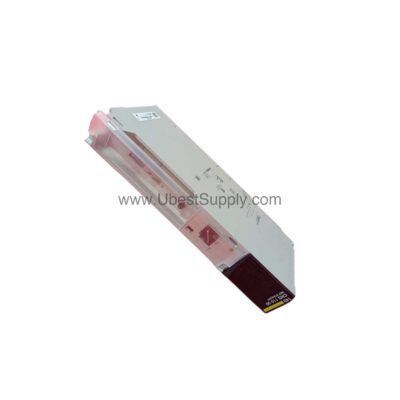
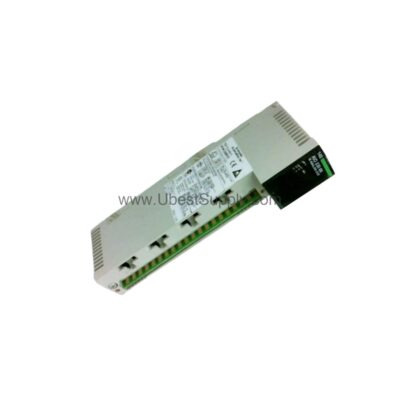
The Allen-Bradley 1794-TB32 acts as the physical wiring interface. It hosts 32-point I/O modules within a Flex I/O system. This unit provides connections for field devices like sensors and actuators. Its design supports both panel and DIN rail mounting for installation flexibility. This base delivers reliable signal routing in demanding industrial environments.
[Theme A: Procurement Guide & Key Specs]
Selecting the Correct Terminal Base
Engineers must match the terminal base to their module count. The 1794-TB32 specifically handles 32 input or output points. This unit includes 32 I/O terminals for field wiring. It also provides 8 common and 8 voltage terminals. This arrangement ensures clean power distribution to the module.
Electrical Specifications for Your System
This unit operates on a maximum supply voltage of 31.2V DC/AC. Its continuous voltage rating is 24V DC/AC. The base handles a maximum current of 10A total. This capacity supports multiple field devices simultaneously. It ensures stable power delivery for your control logic.
Rugged Environmental Performance

The base functions within a wide temperature range. It operates reliably from -20 to 70 degrees Celsius. This tolerance suits both cold storage and hot factory floors. The unit withstands 5 G operational vibration. It also resists 30 G shock during industrial use. These ratings guarantee performance in harsh conditions.
Safety and Isolation Features
The 1794-TB32 provides 50V of continuous circuit isolation. Its basic insulation passes a 2121V DC dielectric test. This feature protects sensitive backplane electronics from field faults. This isolation is critical for system integrity. It prevents ground loops and protects maintenance personnel.
Making Your Procurement Decision
Procurement teams should verify their module type against this base. This base is ideal for high-density 32-point applications. It offers a cost-effective solution for large I/O counts. Check that your module uses this specific 32-point form factor. The compact dimensions allow for efficient panel layout.
[Theme B: Step-by-Step Installation Guide]

Mechanical Mounting Options
You can mount this base on a standard DIN rail. The unit securely snaps onto the rail. You also have the option for direct panel mounting. Use the provided mounting holes for a screw-down installation. Ensure the base sits flat against the mounting surface. This prevents stress on the backplane connections.
Wiring Your I/O Connections
First, strip wires to fit the terminal block. The unit accepts wire sizes from 0.21 to 1.3 mm². Tighten each terminal screw to the specified torque. The torque range is 0.56-0.79 Nm. Follow the labeling on the base for proper wiring. Match your field device polarity to the correct terminal. This step ensures accurate signal reading.
Power Supply Connections
Connect your 24V DC or AC power source to the voltage terminals. Ensure the supply voltage does not exceed 31.2V. Connect the common return path to the dedicated common terminals. This provides a stable reference for all I/O points. Verify the supply current does not exceed the 10A rating.

Verifying the Installation
After wiring, perform a visual inspection of all connections. Check for loose wires or stray strands. Use a multimeter to verify voltage at the power terminals. Confirm the module seats firmly on the base. Power up the system and check the module status. A good installation ensures a long operational life.
Optimizing Your System Layout
Group high-voltage wiring away from signal cables. This practice reduces electrical noise interference. Use shielded cable for sensitive analog signals. The base’s robust design handles organized cable routing. This layout simplifies future maintenance and troubleshooting. It also improves the overall system reliability.