Product Summary
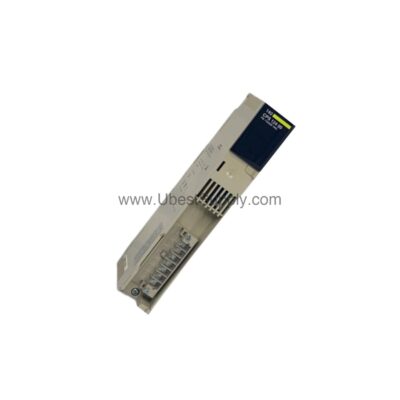
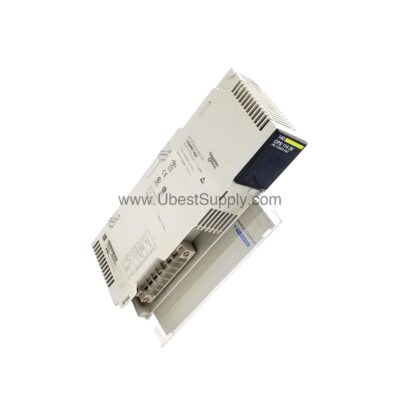
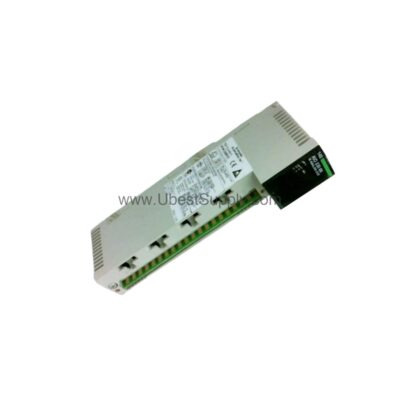
The Allen-Bradley 1766-L32BWAA is a powerful MicroLogix 1400 controller. It integrates 38 I/O points with mixed analog and digital signals. This unit provides three communication ports for flexible networking. Engineers use it for reliable, mid-range automation tasks.
Product Procurement & Buyer Guide
Core Technical Specifications
This controller operates on 110 to 240 Volts AC power. It offers twenty digital inputs and twelve relay outputs. The unit also includes four analog inputs and two analog outputs. Its memory holds 20 KB for programs and data. The built-in real-time clock supports time-based logic.
Communication and Connectivity Benefits
The 1766-L32BWAA features an Ethernet port for modern networks. It supports protocols like EtherNet/IP and Modbus TCP/IP. Two serial ports handle DF1, Modbus RTU, and DNP3 protocols. This connectivity ensures seamless integration into existing plants. It simplifies data exchange with higher-level systems.

Solving Key Industrial Pain Points
Procurement managers need a controller with a wide voltage range. This unit accepts 100 to 240V AC, reducing power supply worries. Application engineers require flexible I/O for diverse sensors. The mix of fast and normal digital inputs handles various signals. Analog channels allow precise control of variable processes.
Installation and Mounting Options
The unit offers both panel and DIN-rail mounting options. Its compact size is 3.5 x 7.08 x 3.43 inches. This form factor fits easily into tight control cabinets. The open enclosure design suits clean, dry industrial environments. It requires circuits not exceeding Over-Voltage Category II.
Step-by-Step User & Installation Guide
Mechanical Mounting Procedure

First, select a clean, dry location for the controller. Mount the unit on a standard DIN rail or panel. Ensure proper clearance for airflow and wiring access. Secure the controller firmly using the provided slots. Verify the mounting surface is stable and vibration-free.
Wiring and Power Connections
Connect the power supply to the 100/240V AC input terminals. Observe the correct line and neutral polarity for safety. Wire all twenty digital inputs according to your sensor types. Use appropriate gauge wire for relay output connections. Ensure all wiring meets local electrical codes.
Communication Port Configuration
Connect the Ethernet port to your plant network switch. Use the isolated RS-232/485 port for long-distance serial links. Configure the non-isolated RS-232 port for local programming. Set the communication protocol using the built-in LCD screen. The backlit display simplifies network parameter adjustments.
I/O Channel Verification

Test each digital input with a known signal source. Verify the twelve fast inputs respond to high-speed events. Check the eight normal inputs for standard 24V DC signals. Calibrate analog inputs using a 0-10V DC reference. Confirm relay outputs switch loads correctly under power.
Programming and Startup
Download your ladder logic program into the 20 KB memory. Use online editing capabilities to fine-tune the logic. Monitor the controller status via the LCD backlight. Verify the real-time clock provides accurate time stamps. Test the system with a full operational cycle before production.