
Product Summary (Exactly 150-200 characters)
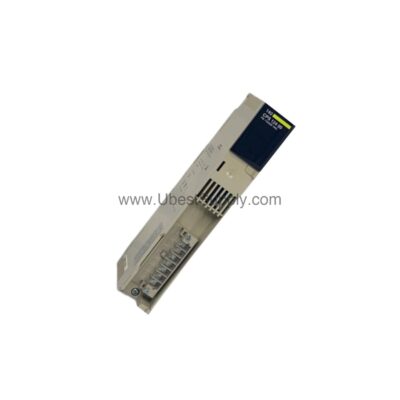
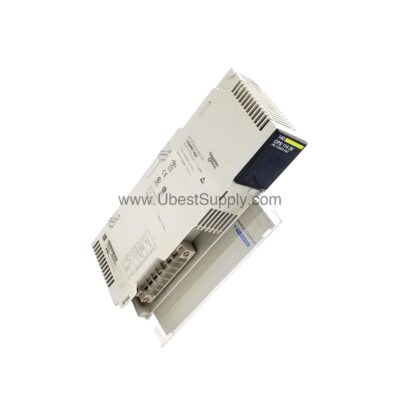
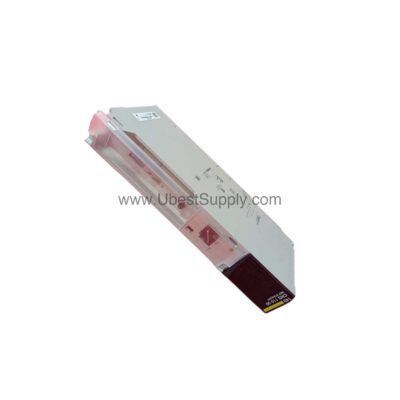
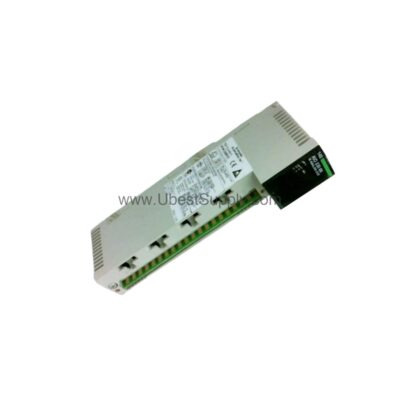
The Allen-Bradley 1794-IA16 is a 16-point non-isolated AC input module for the Flex I/O platform. It reads 74-132VAC signals from devices like sensors. This unit requires a compatible terminal base for wiring terminations.
Theme A: Procurement & Buyer Guide for the 1794-IA16
The 1794-IA16 solves a key design pain point for control engineers. It integrates 16 AC inputs into a single, compact DIN rail package. This module simplifies cabinet layout and reduces bulky wiring bundles.
Why Choose the 1794-IA16 for Your Next Project?
This module operates with a nominal voltage of 120 VAC. Your field devices must provide a minimum on-state voltage of 74VAC. The maximum on-state voltage reaches 132VAC, providing a very wide tolerance band.
Critical Selection Criteria for Procurement Managers
You must purchase a separate terminal base for operation. Compatible bases include the 1794-TB3 or the 1794-TBN units. The module's key switch position is factory set to position 8, ensuring proper alignment.

Matching 1794-IA16 to Your System Architecture
The 1794-IA16 works with several Flex I/O communication adapters. Use the 1794-AENT for EtherNet/IP networks. For older systems, the 1794-ASB Remote I/O adapter is a perfect match.
Electrical and Power Considerations
The module draws only 20 mA from the FlexBus at 5VDC. Its maximum power dissipation is 6.4 Watts at 132 VAC. This low heat output allows for dense module arrays in sealed enclosures.
Environmental Ruggedness for Factory Floors
The 1794-IA16 operates safely from 0 to 55 degrees Celsius. It withstands 5g vibration at 10 to 500 Hz. This makes the module reliable on heavy machinery or conveyor systems.
Theme B: Step-by-Step Installation Guide for 1794-IA16

Step 1: Mechanical Mounting on the DIN Rail
First, install a compatible terminal base like the 1794-TB3 on the rail. Hook the base over the top of the rail. Push the base down until it locks securely into position.
Step 2: Engaging the 1794-IA16 Module
Angle the 1794-IA16 module slightly as you place it onto the terminal base. Ensure the module’s keyswitch aligns with the base slot. Press the module firmly until it clicks into the base.
Step 3: Understanding the Three Terminal Strips
The 1794-TB3 base has three screw clamp terminal strips. The top strip holds 16 terminals for your field I/O wiring. The middle and bottom strips handle common and supply voltage connections.
Step 4: Wiring the AC Input Signals

Connect your AC field device wires to the top I/O terminals. The module accepts wires sized per the installed base. Use proper torque between 0.56-0.79 Nm for secure connections.
Step 5: Powering the Module via Daisy-Chaining
Use the 1794-TB3 for easy power daisy-chaining to adjacent modules. Connect your supply to terminals C-34 (+) and B-16 (-). Then link the supply out terminals to the next base.
Step 6: Verifying System Operation
Apply 120 VAC power to the Flex I/O network. Observe the 16 yellow LED status indicators on the module face. An illuminated LED shows that its specific input channel is active.