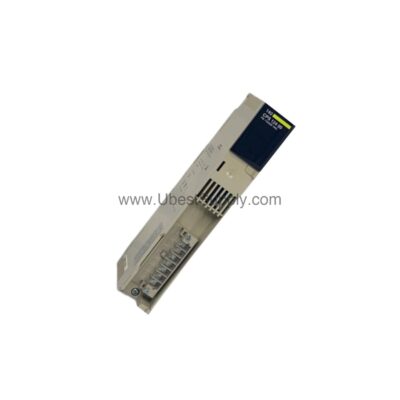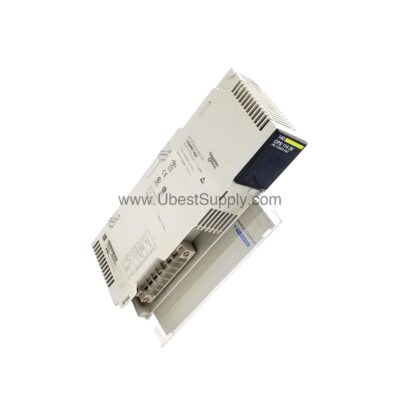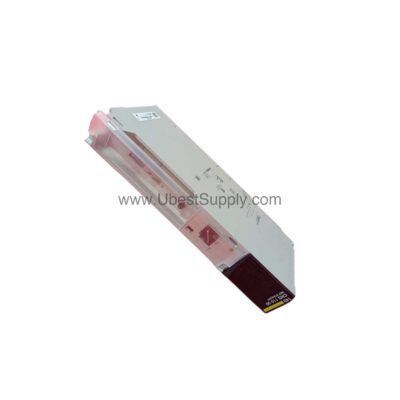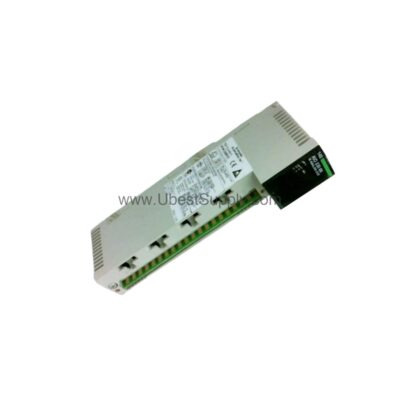

The 1794-IA16 Flex I/O module from Allen-Bradley provides sixteen non-isolated AC inputs. This module reliably monitors 120VAC control signals in demanding industrial environments. Engineers use it to interface directly with various sensors and switches. It offers a cost-effective solution for high-density AC input applications. The module reduces wiring complexity through its flexible system design. It integrates seamlessly within the broader Rockwell Automation ecosystem.
Simplified Procurement & Selection Guide for the 1794-IA16
Specifying the correct I/O module is critical for project success. The 1794-IA16 simplifies this process with clear parameters. It requires a separate terminal base unit for operation. You must order a base like the 1794-TB3 or 1794-TBN separately. This modular approach provides installation flexibility for your cabinet layout. The module fits standard DIN rail mounting for quick assembly.
Key Electrical Parameters for Your Application
The module accepts a wide input voltage range for versatility. It requires a minimum On-state voltage of 74VAC to activate. The maximum continuous On-state voltage is 132VAC for safety. Its nominal input current sits at 12 mA at 120 Volts AC. This ensures compatibility with standard 120VAC control circuits in factories. The Off-state voltage must remain below 20VAC for reliable deactivation.
Environmental Tolerances You Can Trust
This Flex I/O module operates reliably in temperatures from 0 to 55 °C. Its storage range extends from -40 to 85 °C for harsh conditions. The unit withstands vibration up to 5g at 10 to 500 Hertz. It also handles operating shock of 30g without performance degradation. These specs make it suitable for machinery and conveyor systems. Humidity tolerance of 5 to 95% non-condensing adds to its durability.

Ensuring System Integration and Compatibility
The 1794-IA16 communicates via the FlexBus backplane for data transfer. It draws only 20 mA from the 5V DC FlexBus current. This low draw allows for many modules on a single adapter. It works with ControlNet, Ethernet, and Remote I/O adapters. This flexibility supports both new installations and legacy system upgrades. Always verify the keyswitch position is set to 8 for proper alignment.
Physical Design for Panel Efficiency
The module measures just 94 x 94 x 69 mm in size. Its open-style enclosure requires installation within a protective cabinet. Sixteen yellow LED indicators show the status of each input channel. These LEDs provide instant visual feedback during commissioning and troubleshooting. The lightweight design at 0.25 lbs eases handling during installation. This compact form factor saves valuable space inside your control panel.
Installation Guide for the 1794-IA16 Module
Proper installation ensures long-term reliability and system performance. Follow these steps for a secure setup with a compatible terminal base. The module is an I/O circuit only and requires a base. This guide focuses on the physical mounting and basic wiring.

Mounting the Terminal Base on a DIN Rail
First, attach the terminal base unit to the DIN rail. Position the base at a slight angle to hook it over the top. Push the bottom of the base downward until it locks securely. Ensure the FlexBus connector engages properly with the adjacent adapter. Slide the base tightly against the neighboring unit for a solid connection. This creates the physical and electrical backplane for the system.
Installing the I/O Module onto the Base
Hold the 1794-IA16 module with the circuit board facing the base. Align the module's keyway with the keyswitch position on the base. Gently slide the module down until it seats firmly into the connector. Apply even pressure to ensure a complete electrical connection. The module will lock into place without the need for tools. Verify the yellow status indicators are correctly positioned for visibility.
Wiring Field Devices to the Terminal Base
Use the 1794-TB3 base which has three distinct terminal strips for wiring. Connect your AC field devices to the top row of sixteen I/O terminals. The middle terminal strip provides the voltage common connection for your circuits. The bottom strip supplies the voltage input, typically 120VAC for this module. Use wire sizes between 22 and 12 gauge for secure connections. Tighten the screw clamp terminals to a torque of 0.56-0.79 Nm.

Configuring Power Daisy-Chaining for Efficiency
The terminal base supports daisy-chaining power connections between adjacent modules. This feature eliminates the need for separate power wiring to each module. Connect the supply voltage input to terminals C-34 and B-16 on the base. Then, route the supply voltage output to the next base via C-51 and B-33. This method significantly reduces wiring time and material costs. It also simplifies troubleshooting and future system expansions.
Connecting the Communication Adapter
Attach your chosen communication adapter to the left side of the module bank. Compatible adapters include the 1794-AENT for EtherNet/IP networks. The adapter manages all data exchange between the I/O modules and the controller. Ensure the FlexBus connector on the adapter engages with the first terminal base. The system automatically detects the 1794-IA16 module upon power-up. This allows for easy configuration within your control software.