
Product Procurement & Buyer Guide
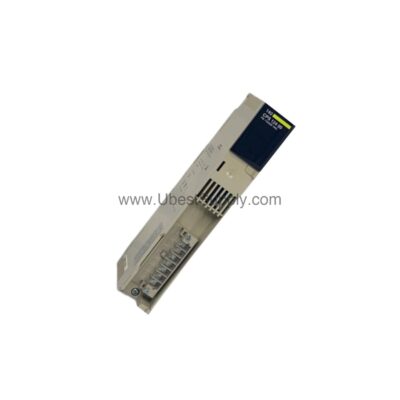
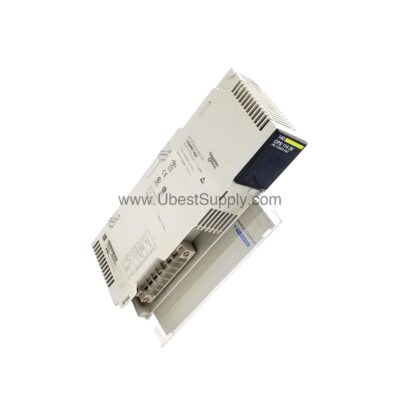
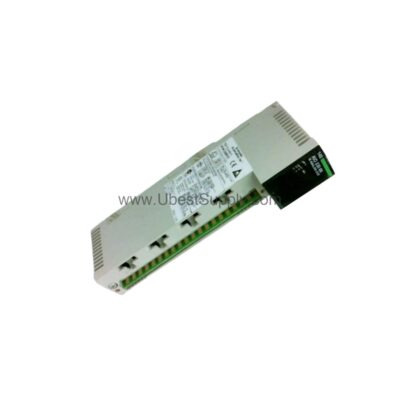
The 1794-TB3 terminal base forms the critical physical backbone.
This unit allows any 1794 Flex I/O module to connect with field wiring.
You must choose this base for reliable signal termination and DIN rail mounting.
It provides the necessary mechanical support for input and output modules.
The 1794-TB3 handles a maximum electrical rating of 125V AC/DC.
It also delivers a current capacity of 10A at 50-60Hz.
These ratings make it suitable for demanding industrial control environments.
Procurement teams should match this base with compatible I/O modules.
The 1794-TB3 works with several modules including the 1794-IB16 and 1794-OB16P.
It also supports the 1794-OA16 AC output module seamlessly.
This unit uses 24-16 AWG stranded copper wire for terminations.
This wire range covers most standard field device connections.
The terminal screw torque ranges from 0.56 to 0.79 Nm.
Proper torque ensures secure and long-lasting electrical connections.
You must verify this torque spec during installation to avoid loose wires.
The base includes V/COM terminals rated at 125V DC/AC and 10A.
These terminals provide power and common connections for the modules.
It supplies a 2A current to the I/O module terminals.
The Flexbus rating sits at 5V DC at 640mA.
This powers the internal communication bus between the adapter and module.
The 1794-TB3 provides 125V continuous isolation between field wiring and Flexbus.
This isolation uses Basic Insulation Type for operator safety.
It carries c-UL-us, UL, CSA, and CE certifications.
These certifications guarantee compliance with global safety standards.
The unit has a T4A temperature code for North America.
It also holds an IEC T4 temperature code for international use.
This base weighs very little and measures 94 x 94 x 69 mm.
Its compact size fits easily into standard control panels.

Step-by-Step User & Installation Guide
First, mount the 1794-TB3 onto a standard DIN rail.
The unit supports standard DIN rail or direct panel mounting.
Ensure the rail is clean and properly grounded before installation.
Snap the base onto the DIN rail firmly.
It should click into place without excessive force.
Next, prepare your field wiring using 24-16 AWG stranded copper wire.
Strip the wire ends to the length required by the screw terminals.
Insert each wire into the appropriate clamp on the terminal base.
Tighten each screw to the specified torque of 0.56-0.79 Nm.
Use a calibrated torque screwdriver for accuracy.
Do not overtighten as it may damage the terminal.
Connect the V/COM terminals to your external DC supply.

The supply voltage range should match your I/O module requirements.
For example, a 24VDC module needs a 24V DC supply here.
Now, attach your selected Flex I/O module onto the base.
Align the module's connectors with the base's bus interface.
Press the module down until it locks securely into place.
The 1794-TB3 supports modules like the 1794-IB16 and 1794-OB16P.
Verify the module keyswitch position matches the base requirements.
This prevents incorrect module insertion.
Connect the Flexbus cable from the base to your communication adapter.
Compatible adapters include 1794-AENT or 1794-ADN.
Finally, power up the system and check the 16 yellow status LEDs.
These LEDs indicate the status of each input or output channel.
The module operates best between 0 to 55°C.
It can withstand 30G of operational shock.
It also handles 5G vibration from 10 to 500 Hz.
This ruggedness ensures reliable operation in harsh industrial settings.