
Product Summary
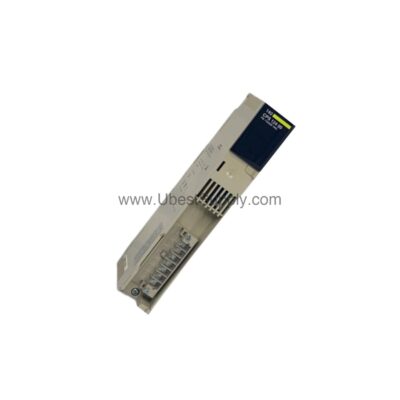
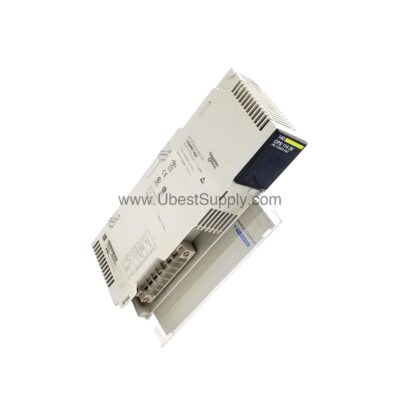
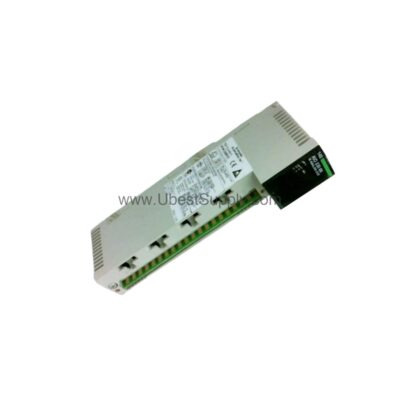
The 1794-OV16P Flex I/O module delivers 16 sinking digital outputs with electronic protection. It automatically shuts down during short-circuit or overload and recovers without processor fault. This ensures reliable 24V DC control in demanding environments.
Theme A: Product Procurement & Buyer Guide
When selecting an output module for your control system, the 1794-OV16P stands out with its Protected (P) output architecture. Each channel supplies 500 mA maximum on-state current, totaling 8.0 A per module. The nominal on-state voltage is 24V DC, with a range from 10 to 31.2V DC.
This module uses sinking outputs with electronic protection. It shuts down on short-circuit, high temperature, or overload. The unit auto-recovers once the fault clears. This design prevents downtime and eliminates the need for manual resets.
The module works with terminal base units like the 1794-TB3 and 1794-TB3S. It mounts on a DIN rail for quick installation. Communication options include ControlNet, DeviceNet, EtherNet/IP, and Universal Remote I/O. This flexibility suits various network architectures.

For procurement engineers, the 1794-OV16P reduces panel space and wiring complexity. Its 16 outputs in a single module lower total system cost. The maximum power dissipation is 4.2W at 31.2V DC. Thermal dissipation is 14.3 BTU/hr. These specs allow efficient heat management in crowded cabinets.
The module draws 80 mA from the FlexBus backplane. This low current maintains system power budgets. External power supply voltage ranges from 10 to 31.2V DC with 5% AC ripple. Current draw for the external supply is 20 to 65 mA. Always verify supply capacity during design.
Theme B: Step-by-Step User & Installation Guide
Installing the 1794-OV16P follows a clear process. First, select a compatible terminal base, such as the 1794-TB3. Mount the terminal base onto a DIN rail. Hook the base over the top of the rail. Push down until it locks into place.

Next, align the 1794-OV16P module with the terminal base. Slide it upward until the FlexBus connector engages. You can insert or remove the module under power. This hot-swap capability saves time during maintenance.
Wire field devices to the terminal base screw clamps. The top strip holds 16 I/O terminals. The middle strip is for common (-V). The bottom strip is for voltage supply (+V). Use wire sizes from 0.34 to 3.3 mm².
Connect the external power supply to terminals C-34 (+) and B-16 (-). For daisy-chaining to adjacent modules, use C-34 (+) and B-16 (-) for supply in. Use C-51 (+) and B-33 (-) for supply out. This method distributes power across multiple modules.
After wiring, verify the module operation. The module has 16 yellow LED indicators. Each LED shows the status of its corresponding output. A lit LED means the output is active. No light indicates an off state.
For extreme environments, the 1794-OV16P offers XT versions. These operate under higher temperatures and reduce maintenance costs. The standard module fits most industrial settings.